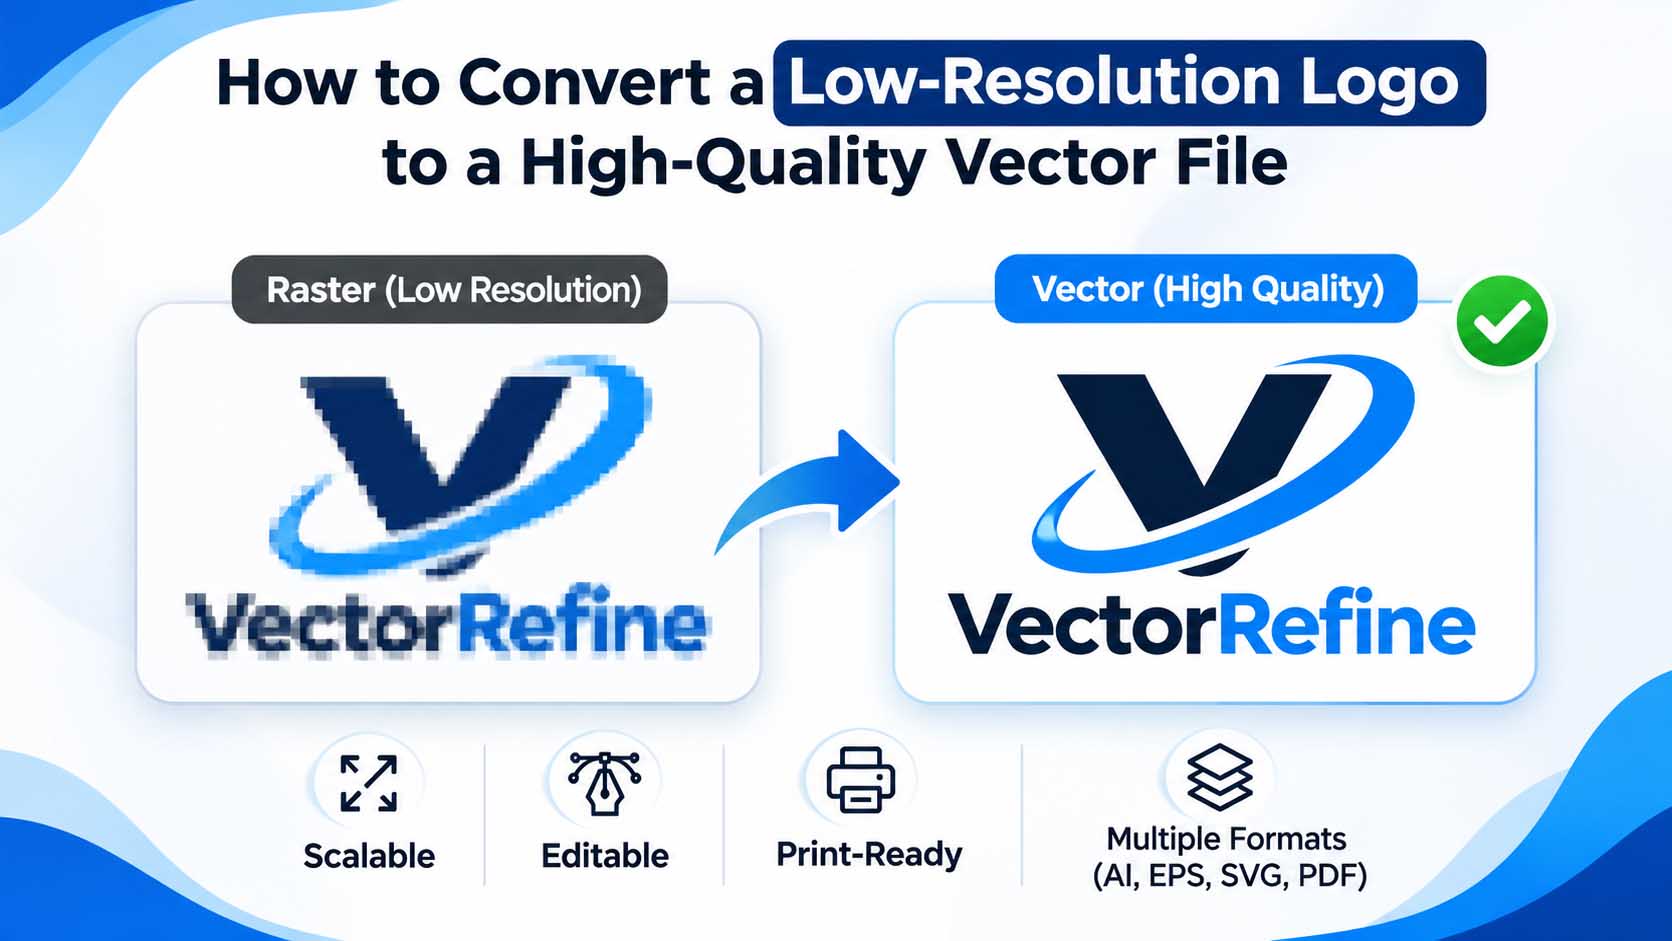
You have a logo you love, but there’s one problem: it looks blurry whenever you try to make it bigger.
Maybe your printing company has requested a vector file. Perhaps your logo looks fine on your website but becomes pixelated on a business card, banner, or T-shirt. Or maybe all you have is an old JPG or PNG, and the original design files are nowhere to be found.
The good news? A low-resolution logo can often be professionally reconstructed into a clean, scalable vector file without changing its original design.
But there’s an important difference between simply converting a file format and creating genuine vector artwork.
In this guide, we’ll explain how to convert a low-resolution logo to vector, why manual vector tracing matters, which file formats work best, and how to prepare your artwork for professional printing.
What Is a Low-Resolution Logo?
A low-resolution logo is usually a raster image that contains too little pixel information for the size or application you need.
Common raster formats include:
- JPG or JPEG
- PNG
- GIF
- BMP
- TIFF
These formats store artwork using pixels. When a small image is enlarged beyond its useful resolution, individual pixels become increasingly noticeable.
Imagine downloading a 200-pixel-wide logo from an old website and stretching it across a six-foot banner.
The image might look acceptable on a small screen, but at banner size, the edges could appear blurry, jagged, or uneven.
This is a common problem for businesses that no longer have access to their original design files.
If you’re facing this issue, explore our professional vector conversion services to understand your options.
Why Does a Logo Become Pixelated?
A raster logo contains a fixed grid of pixels.
When you enlarge it, the software must estimate how those pixels should appear at the new size.
This process is called interpolation.
Although modern image-editing tools can improve the appearance of enlarged images, they cannot reliably reconstruct every missing detail from a poor-quality original.
Common causes of pixelated logos include:
- Downloading a small logo from a website.
- Saving the same JPG repeatedly with compression.
- Using a screenshot instead of an original design file.
- Enlarging a small PNG for large-format printing.
- Exporting artwork at an insufficient resolution.
- Receiving only a low-quality preview from a previous designer.
If the original vector file is unavailable, manual logo vectorization is often a practical solution.
What Is a Vector Logo?
A vector logo is constructed from mathematically defined paths rather than a fixed grid of pixels.
These paths can include straight lines, curves, shapes, and editable objects.
Unlike raster images, properly constructed vector artwork can be scaled without introducing pixelation.
For example, the same vector master can be used to prepare artwork for:
- Business cards
- Company letterheads
- Product packaging
- Website graphics
- T-shirt printing
- Outdoor signage
- Vehicle graphics
- Promotional merchandise
However, different production methods may require additional preparation beyond basic vector conversion.
You can learn more about the underlying technology through the W3C SVG specification, which describes the scalable vector graphics format.
Raster vs Vector: What’s the Difference?
| Feature | Raster Logo | Vector Logo |
|---|---|---|
| Construction | Pixels | Mathematical paths |
| Scaling | Limited by resolution | Resolution-independent |
| Common formats | JPG, PNG | AI, SVG, EPS, vector PDF |
| Editing | Often pixel-based | Individual shapes and paths |
| Large printing | Requires sufficient resolution | Ideal for scalable artwork |
| Logo reconstruction | May need redrawing | Can serve as editable master |
Raster graphics are not inherently bad. Photographs and complex textures often work better as raster images.
However, logos containing typography, geometric shapes, and clearly defined illustrations are frequently better maintained as vectors.
For additional background, see Adobe Illustrator, a professional application widely used for vector design.
How to Convert a Low-Resolution Logo to Vector: Step by Step
Creating a high-quality vector logo involves more than clicking a conversion button.
Here is a practical workflow for manually rebuilding an existing logo.
Step 1: Examine the Original Logo
Start by reviewing the best available version of the artwork.
Look carefully at:
- Letter shapes and typography
- Proportions and alignment
- Curved and straight edges
- Color transitions
- Fine details
- Spacing between elements
- Background and transparency
Before starting, check whether a higher-quality original exists.
A PDF from a previous printer, an older Illustrator file, or an original SVG may save considerable reconstruction time.
If you have several versions of the logo, compare them to identify which one best represents the approved design.
Step 2: Import the Raster Image into Adobe Illustrator
Open Adobe Illustrator and create a new document.
Import the reference image using the Place command.
Keep the original artwork on a separate reference layer and lock that layer to prevent accidental movement.
This allows you to rebuild the design while comparing the vector paths against the original.
For guidance on Illustrator’s vector tools, see Adobe’s Pen Tool documentation.
Step 3: Reconstruct Shapes Using the Pen Tool
This is where manual vector conversion becomes especially valuable.
Instead of allowing software to guess the shapes automatically, carefully draw the important contours using the Pen Tool and Bézier curves.
A well-constructed curve usually needs fewer carefully positioned anchor points than an unnecessarily complex traced path.
The goal is not simply to reduce the number of points as much as possible. It is to use the right number of points to preserve the design accurately.
Pay special attention to:
- Smooth circular edges
- Symmetrical elements
- Sharp corners
- Consistent stroke widths
- Small gaps between shapes
- Clean intersections
For more information on vector paths, explore the Inkscape documentation, which provides additional educational resources about vector drawing.
Step 4: Recreate the Typography Accurately
Typography is one of the most sensitive parts of logo reconstruction.
Replacing an original typeface with a similar-looking font can subtly change a brand’s appearance.
For an approved logo, the objective should be to preserve the original letterforms.
When the original font is unavailable, lettering may need to be manually reconstructed as vector paths.
Review the spacing, kerning, baseline, character widths, and unique letter details.
For typography background, the Adobe Fonts website provides information about professional typefaces.
Step 5: Match the Original Colors
A professional logo vectorization project should preserve the intended brand colors as closely as possible.
Depending on the original artwork and production requirements, colors may be specified using:
- HEX values
- RGB values
- CMYK values
- Pantone spot colors
Keep in mind that colors displayed on a monitor may not reproduce identically in print.
For print color workflows, the Pantone website provides useful resources about standardized color systems.
Step 6: Clean and Organize the Vector Paths
After reconstructing the artwork, inspect the file closely.
Look for overlapping shapes, stray anchor points, unwanted open paths, uneven curves, and unnecessary objects.
A good vector file should not only look correct but also be practical for future editing.
Organize related elements into logical groups or layers.
For example, the logo icon, wordmark, tagline, and decorative elements can be kept separate when appropriate.
This makes future revisions easier.
Step 7: Test the Logo at Different Sizes
Before finalizing the file, inspect it at multiple sizes.
A logo that looks excellent at 500% zoom may contain details that disappear when reduced.
Check the design at small and large sizes, paying particular attention to:
- Thin lines
- Small lettering
- Narrow gaps
- Decorative details
- Overall readability
If the artwork is intended for embroidery, vinyl cutting, or another specialized process, verify the production limitations with the supplier.
Step 8: Export the Correct Vector Files
Once the vector artwork is complete, save an editable master file.
Common deliverables include:
AI: The editable Adobe Illustrator master.
EPS: A vector-compatible format used in many production workflows.
SVG: A scalable format suitable for websites and compatible design applications.
PDF: Can preserve vector paths when exported correctly.
PNG: Useful for transparent-background previews and digital applications.
JPG: Suitable for general previews and applications where transparency is unnecessary.
A file extension alone does not guarantee true vector artwork.
For example, placing a JPG inside an SVG container does not turn its pixels into editable vector paths.
For additional SVG technical information, visit the MDN SVG documentation.
Why Manual Vector Tracing Often Produces Better Results
Automatic tracing software has improved significantly, and it can be useful for many types of artwork.
However, automatic tracing may struggle with small text, compression artifacts, uneven edges, and intricate logo details.
Adobe’s Image Trace documentation explains how automated tracing converts raster images into editable paths.
For an established brand logo, manual reconstruction gives the designer greater control over the final shapes.
Cleaner Anchor Points
Manual drawing allows unnecessary points to be avoided while preserving important details.
More Accurate Curves
Each curve can be adjusted individually rather than relying entirely on automated edge detection.
Better Typography Preservation
Custom letterforms can be recreated carefully instead of approximated by an algorithm.
Improved Editability
Artwork can be organized into logical vector objects, making future revisions easier.
Production-Specific Preparation
The artwork can be adapted to the intended manufacturing or printing process.
Adobe also documents the limitations and best practices of Image Trace.
Can You Convert a Blurry PNG into a Sharp Vector Logo?
Yes, in many cases.
However, the result depends on how much reliable visual information is available.
Consider a simple logo containing a bold wordmark and a circular icon.
Even if the PNG is relatively small, a skilled designer may be able to reconstruct the shapes accurately.
Now consider a heavily compressed logo containing intricate lettering, tiny decorative elements, and indistinct details.
Some parts may require interpretation or confirmation from the client.
Manual vectorization can recreate the visible design, but it cannot automatically recover information that no longer exists in the source image.
For the best result, provide the highest-quality reference available.
Is PNG to SVG Conversion the Same as Vectorization?
Not necessarily.
This is an important distinction for anyone searching for a PNG to SVG converter.
Some conversion tools create actual vector paths.
Others simply place the original raster image inside an SVG file.
Both files may have the .svg extension, but only the first contains reconstructed vector geometry.
Before accepting a converted file, open it in a vector editing application.
Check whether the logo contains editable paths or a single embedded raster image.
For an overview of SVG image behavior on the web, see the MDN image element reference.
Which Vector Format Should You Choose?
The best format depends on how the artwork will be used.
For Professional Printing
AI, EPS, or vector PDF may be suitable, depending on the printer’s requirements.
For Websites
SVG is useful for logos and icons because it can scale cleanly across different screen sizes.
The web.dev image guidance provides additional information about image formats and web performance.
For Vinyl Cutting
Closed, clean vector paths are often important. Requirements vary depending on the cutting software and equipment.
For Embroidery
Vector artwork may be used as a starting point, but embroidery generally requires digitizing into machine-specific stitch formats.
For Future Logo Editing
An editable AI master file is a practical choice when the workflow uses Adobe Illustrator.
Common Mistakes to Avoid When Vectorizing a Logo
Mistake 1: Simply Enlarging the Original Image
Increasing the pixel dimensions does not automatically create true vector artwork.
Mistake 2: Changing the File Extension
Renaming logo.jpg to logo.svg does not convert the image into vector paths.
Mistake 3: Using Too Many Anchor Points
Excessive anchor points can make artwork difficult to edit and may introduce uneven curves.
Mistake 4: Replacing the Original Font Without Approval
Even small typography changes can affect brand consistency.
Mistake 5: Ignoring Print Requirements
A visually attractive logo may still need adjustments for a specific production method.
Mistake 6: Delivering Only a Flattened Image
Always confirm whether the client needs editable vector artwork or only a raster preview.
Mistake 7: Skipping Final Quality Checks
Inspect paths, colors, alignment, and exported files before delivery.
When Should You Hire a Professional Logo Vectorization Service?
You may benefit from professional vector reconstruction when:
- Your only logo file is a blurry JPG.
- Your printing company requires editable vectors.
- You need to preserve an existing brand identity.
- Automatic tracing produces rough edges.
- You need accurately reconstructed lettering.
- You want organized AI, SVG, EPS, or vector PDF files.
- Your logo contains details that need careful manual work.
Professional conversion is particularly useful when accuracy matters more than simply obtaining a file with a vector extension.
Need a High-Quality Vector Logo?
Turn your blurry PNG or JPG into clean, editable, print-ready vector artwork. 100% manual redraw.
Get My Free QuoteHow VectorRefine Approaches Logo Vectorization
At VectorRefine, our focus is manual vector artwork and professional logo reconstruction.
We work with existing logos, low-resolution images, sketches, and artwork that needs to be prepared for editing or production.
Our approach emphasizes careful reconstruction using Adobe Illustrator rather than automatic tracing.
The objective is to maintain the original artwork’s appearance while creating cleaner, more practical vector files.
If you want to understand how a project moves from reference image to final artwork, visit our process page.
You can also explore our portfolio to see examples of vector artwork presentation.
Need Your Logo Recreated as a True Vector?
Don’t let a blurry logo delay your printing or branding project.
Upload your existing logo or artwork, explain how you plan to use it, and request a quote for professional manual vector conversion.
Frequently Asked Questions
1. Can a low-resolution logo be converted to vector?
Yes. Many low-resolution logos can be manually reconstructed into scalable vector artwork. The accuracy of the result depends on the clarity and completeness of the original reference.
2. Can I convert JPG to SVG without losing quality?
A JPG can be reconstructed into true SVG vector paths. Simply embedding the JPG in an SVG file, however, does not eliminate its original resolution limitations.
3. What is the best software for logo vectorization?
Adobe Illustrator is a popular professional choice. Inkscape is another vector graphics application that supports manual path editing.
4. Is manual vector tracing better than automatic tracing?
For projects requiring precise logo reconstruction, manual tracing generally provides greater control. Automatic tracing can still be useful for suitable source images.
5. Can I use a vector logo for T-shirt printing?
Yes, vector artwork is commonly used in apparel design workflows. However, the exact preparation depends on whether the production method uses screen printing, DTF, vinyl, or another process.
6. Can an SVG file contain a raster image?
Yes. An SVG file can include embedded or linked raster imagery. Therefore, an SVG extension alone does not prove that the artwork is fully vectorized.
7. Do I need an AI file or an SVG file?
If you need an editable Adobe Illustrator master, AI is useful. For web graphics and compatible applications, SVG is often convenient. Many projects benefit from receiving both.
8. How do I know whether my vector file is print-ready?
Open the file in a vector editor and inspect its paths, colors, text, and dimensions. Then confirm that the artwork meets the specific requirements of your printer or production provider.
Final Thoughts
A blurry logo does not always mean you need a completely new design.
In many cases, the original artwork can be carefully reconstructed into a professional vector file while preserving the visual identity of your brand.
The key is understanding the difference between changing a file format and rebuilding the artwork with genuine editable vector paths.
Whether you’re preparing a logo for printing, signage, packaging, or future branding projects, clean vector artwork gives you greater flexibility.
If your current logo is pixelated, distorted, or difficult to edit, professional manual vector conversion may be the solution.
Ready to improve your artwork?
Get My Free Quote and let VectorRefine review your logo conversion requirements.