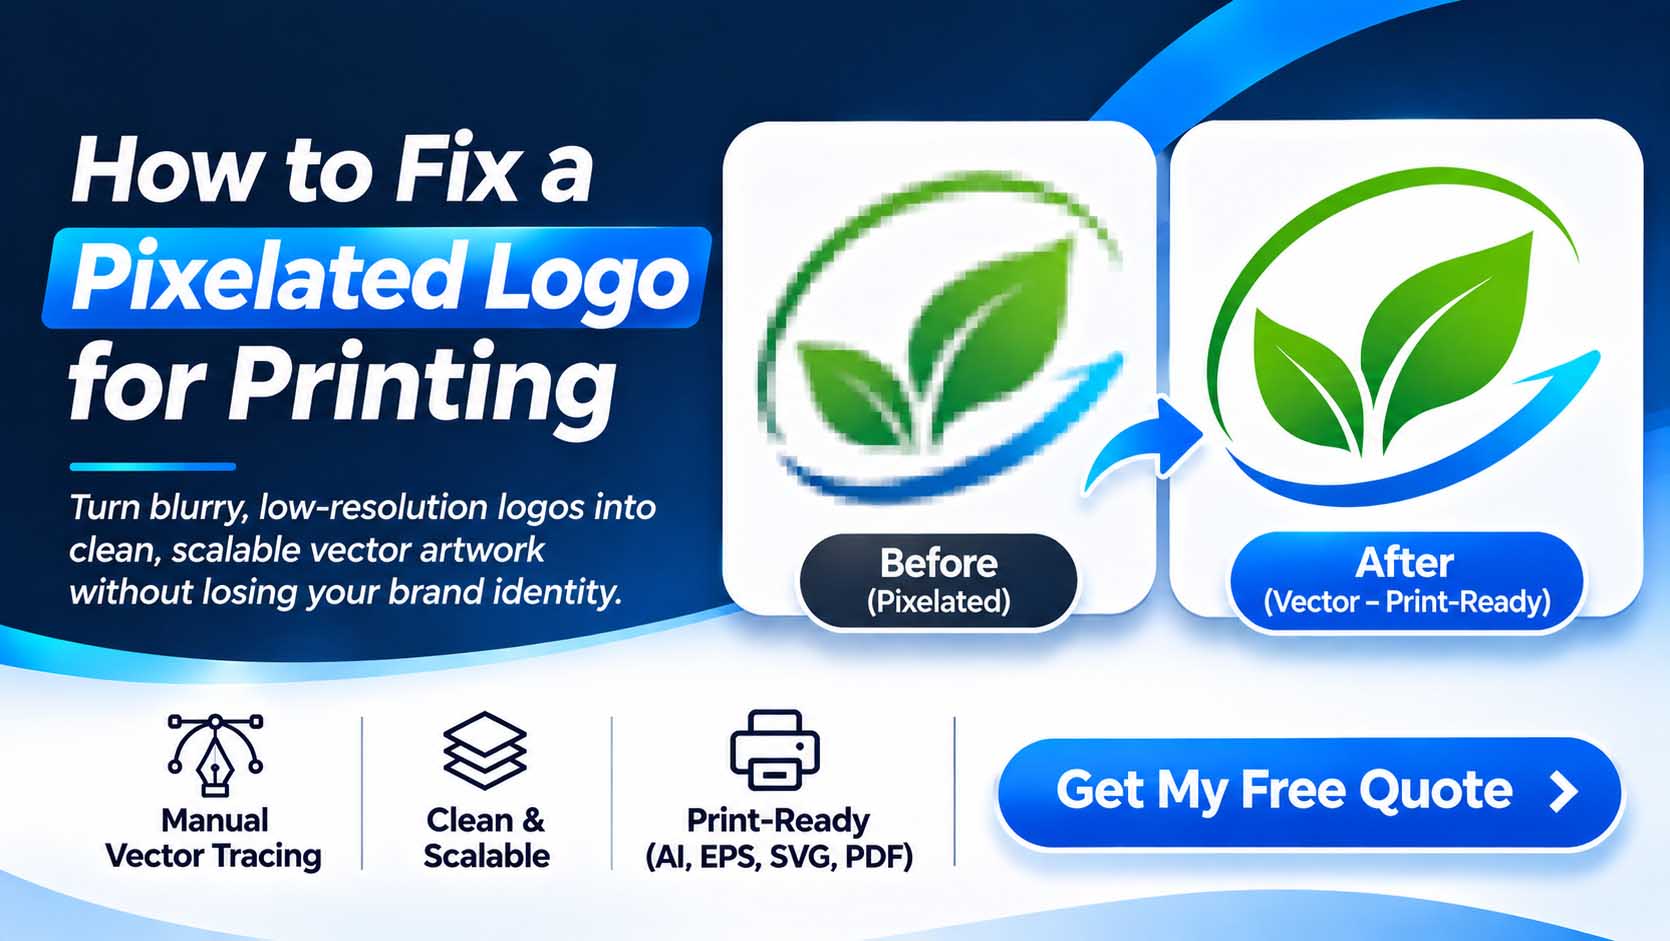
If you’re trying to fix pixelated logo for printing, the right solution is to rebuild your blurry or low-resolution artwork into clean, scalable vector graphics. A pixelated logo may look acceptable on a computer screen, but when enlarged for business cards, T-shirts, packaging, banners, or professional printing, its edges can become blurry and distorted.
At VectorRefine, we use professional manual vector tracing in Adobe Illustrator to recreate existing logos with smooth curves, accurate details, and editable vector paths—without changing the original design.
In this guide, you’ll learn why logos become pixelated, how to improve low-resolution artwork, and why manual vector conversion is often the best long-term solution for professional printing.
The good news is that you can often fix a pixelated logo for printing without redesigning your original brand identity.
The right solution depends on the quality of your existing artwork and how you intend to use it.
In this guide, we’ll explain why logos become pixelated, which methods can improve them, and when professional manual vector tracing provides a better long-term solution.
What Is a Pixelated Logo?
A pixelated logo is a raster image that displays visible square pixels, jagged edges, or blurry details when enlarged.
Raster images are made from a fixed number of pixels.
Common raster formats include:
- PNG
- JPG or JPEG
- GIF
- BMP
- TIFF
For example, a logo saved at 250 × 250 pixels may look acceptable as a small profile image.
However, if you enlarge it to cover a large printed banner, its limited pixel information becomes noticeable.
Unlike raster images, properly constructed vector graphics use mathematical paths that can scale without introducing pixelation.
Adobe explains this difference in its guide to bitmap images and resolution.
If your logo needs to be rebuilt for professional production, explore our manual vector conversion services.
Why Does a Logo Become Pixelated?
Before trying to repair a blurry logo, it’s important to understand what caused the problem.
1. The Original Image Is Too Small
Small raster images contain limited detail.
When enlarged, software must estimate additional pixels, which can make the artwork look soft or jagged.
2. The Logo Was Downloaded from a Website
Website logos are often optimized for quick loading rather than large-format printing.
The displayed image may be much smaller than the original design.
3. The JPG Has Been Compressed
Repeatedly saving a JPG can introduce compression artifacts.
These artifacts are particularly noticeable around text, sharp edges, and high-contrast shapes.
4. The Logo Was Taken from a Screenshot
Screenshots capture pixels at the displayed size.
They don’t preserve the editable paths or original construction of the artwork.
5. The Original Vector File Is Missing
Many businesses receive only a PNG or JPG after their logo is designed.
Without an editable master file, preparing the logo for different production applications becomes more difficult.
If this sounds familiar, you may need professional logo vectorization rather than simple image enlargement.
Can You Fix a Pixelated Logo Without Losing Quality?
Yes, but the method matters.
There are three common approaches:
- Finding a better original file.
- Improving the raster image with image-editing software.
- Reconstructing the logo as genuine vector artwork.
The first option is often the easiest.
If you can locate an original AI, EPS, SVG, or vector PDF file, you may not need to recreate anything.
If only a low-quality raster image exists, the next step is deciding whether enhancement or manual reconstruction is more appropriate.
Method 1: Find the Original High-Quality Logo File
Before paying for logo reconstruction, check whether a better version already exists.
Look through:
- Previous designer deliveries
- Email attachments
- Printing company records
- Brand guideline documents
- Old website backups
- Shared design folders
- Previous marketing materials
An original vector master can save time and prevent unnecessary reconstruction.
If you find a PDF, inspect it carefully. Some PDFs contain genuine vector paths, while others contain only embedded raster images.
Method 2: Improve a Pixelated Logo in Photoshop
Adobe Photoshop can help improve certain raster images.
For example, you can use image resizing, sharpening, and other image-editing techniques to make artwork more suitable for specific uses.
A basic workflow might include:
- Open the original logo in Photoshop.
- Inspect its actual pixel dimensions.
- Remove unnecessary background elements if appropriate.
- Resize the image using a suitable resampling method.
- Apply careful sharpening where helpful.
- Inspect the result at the intended output size.
- Export a suitable high-resolution raster file.
However, there is an important limitation.
Increasing the dimensions of a PNG does not turn it into a true vector logo.
Photoshop may improve the appearance of the image, but it cannot reliably recover every missing detail.
For more information about professional image-editing tools, visit Adobe Photoshop.
When Photoshop Is Enough
Raster enhancement may be suitable when:
- The logo only needs a modest size increase.
- The source image is already reasonably clear.
- The printer accepts high-resolution raster artwork.
- The design includes photographic textures.
- Editable vector paths are not required.
For simple logos with defined shapes and typography, vector reconstruction is often more flexible.
Need to Fix a Pixelated Logo?
Get clean, editable, print-ready vector artwork. Carefully recreated by hand in Adobe Illustrator. No auto-tracing.
Get My Free QuoteMethod 3: Rebuild the Logo as Vector Artwork
Professional manual vector tracing involves recreating the logo using editable vector paths.
Instead of enlarging existing pixels, the designer rebuilds the original shapes.
This approach is especially useful for logos containing:
- Custom lettering
- Geometric symbols
- Smooth curves
- Simple illustrations
- Defined color areas
- Precise spacing
- Repeating design elements
The objective is to preserve the original logo’s appearance while producing cleaner artwork.
At VectorRefine, we focus on manual Adobe Illustrator reconstruction without relying on automatic image tracing.
How to Fix a Pixelated Logo in Adobe Illustrator
Here is a practical workflow for reconstructing an existing logo.
Step 1: Import the Original Image
Open Adobe Illustrator and create a new document.
Place your existing PNG or JPG onto the artboard.
Keep the original artwork on a separate reference layer.
Lock that layer so the image doesn’t move while you’re rebuilding the design.
Step 2: Study the Original Shapes
Examine the logo carefully.
Look at:
- Overall proportions
- Letter spacing
- Curve shapes
- Symmetry
- Color relationships
- Line thickness
- Small decorative elements
Try to identify which parts of the artwork can be reconstructed using clean geometric shapes.
Step 3: Draw Clean Vector Paths
Use Illustrator’s Pen Tool and shape tools to recreate the design.
Place anchor points carefully and avoid unnecessary path complexity.
The goal isn’t simply to use the fewest possible anchor points.
It’s to create accurate shapes with smooth curves and practical editability.
You can learn more from Adobe’s Pen Tool documentation.
Step 4: Reconstruct the Typography
If the original font is available, use it to rebuild the lettering accurately.
If it isn’t available, the lettering may need to be manually recreated.
Pay attention to:
- Character widths
- Kerning
- Baseline alignment
- Unique letter shapes
- Stroke thickness
- Overall wordmark proportions
The Adobe Fonts library can help when researching typefaces.
Step 5: Match the Original Colors
Use approved brand color specifications whenever available.
Depending on the project, these may include HEX, RGB, CMYK, or Pantone references.
Color accuracy is especially important when the logo will be used across different printing methods.
You can explore standardized color systems through Pantone.
Step 6: Inspect and Clean the Paths
Once the shapes are complete, inspect the artwork at high zoom.
Check for:
- Unwanted anchor points
- Open paths
- Uneven curves
- Overlapping shapes
- Stray objects
- Incorrect alignment
- Unnecessary clipping masks
Keep the important elements organized for future editing.
Step 7: Test the Logo at Different Sizes
A logo should remain clear at the sizes required for its intended use.
Test small text, narrow gaps, thin lines, and decorative details.
Some production methods may require a simplified or adjusted version.
Step 8: Export the Final Artwork
Save an editable master file.
Depending on the requirements, export:
- AI
- EPS
- SVG
- Vector PDF
- Transparent PNG
- JPG preview
For additional information about scalable graphics, see the W3C SVG specification.
Manual Vector Tracing vs Automatic Image Trace
Adobe Illustrator includes an automatic Image Trace feature.
It can convert raster images into vector paths, but the results depend on the quality and complexity of the original image.
Automatic tracing can be useful for some illustrations and simple graphics.
However, low-resolution logos may produce excessive anchor points, distorted lettering, or irregular edges.
Adobe discusses these limitations in its Image Trace best practices.
| Feature | Manual Tracing | Auto-Tracing |
|---|---|---|
| Shape accuracy | Carefully controlled | Source-dependent |
| Anchor points | Deliberately placed | May be excessive |
| Typography | Can be reconstructed | May become distorted |
| Curve quality | Individually refined | May need cleanup |
| Editing | Organized elements | Often needs refinement |
| Initial speed | More time-intensive | Usually faster |
For established company logos, manual reconstruction often offers greater control over the original design.
If you’re comparing different conversion approaches, Adobe’s Image Trace instructions provide useful technical background.
Why Simply Increasing DPI Doesn’t Fix a Blurry Logo
One common misconception is that changing a logo from 72 DPI to 300 DPI automatically improves its quality.
It doesn’t.
If the original image contains 300 × 300 pixels, changing the resolution metadata doesn’t create additional real detail.
For example:
A 300-pixel-wide image printed at 300 pixels per inch would occupy approximately one inch in width.
If you print the same image at four inches wide, its effective resolution becomes only 75 pixels per inch.
The actual pixel count hasn’t changed.
This is why increasing the DPI setting alone cannot repair a badly pixelated logo.
Adobe’s bitmap resolution guide explains the relationship between image dimensions and print resolution.
Need to Fix a Pixelated Logo?
Get clean, editable, print-ready vector artwork. Carefully recreated by hand in Adobe Illustrator. No auto-tracing.
Get My Free QuoteBest File Formats for Professional Logo Printing
Choosing the correct file format helps prevent production problems.
AI — Adobe Illustrator
An AI file is useful as an editable master when the workflow uses Adobe Illustrator.
EPS — Encapsulated PostScript
EPS remains useful in many compatible printing and production workflows.
SVG — Scalable Vector Graphics
SVG is suitable for websites, icons, and compatible design applications.
For technical information, visit MDN’s SVG documentation.
Vector PDF
A correctly exported vector PDF can preserve scalable paths.
However, not every PDF contains vector artwork.
PNG
PNG is useful for transparent backgrounds and raster previews.
It can also be suitable for printing when the resolution meets the printer’s requirements.
JPG
JPG is commonly used for digital previews and photographs, but repeated lossy compression can damage sharp logo edges.
How to Prepare a Logo for Different Printing Methods
Different production processes require different artwork preparation.
Screen Printing
Screen printing may require clean shapes, suitable color separations, and minimum line thicknesses.
DTF Printing
DTF printing can use high-resolution raster artwork, depending on the provider’s workflow.
Vector files are still useful for editing and preparing clean source artwork.
Vinyl Cutting
Vinyl cutting often requires clean, closed vector paths.
Small gaps and intricate details may cause production difficulties.
Embroidery
Vector artwork can provide a clean starting point, but embroidery machines generally require separate stitch digitizing.
Large-Format Printing
Vector logos are useful for banners and signage because their paths remain smooth when scaled.
For each process, always confirm the specific artwork requirements with the production provider.
How to Know Whether Your Logo Is Truly Vectorized
A file extension alone doesn’t guarantee genuine vector artwork.
For example, an SVG file can contain an embedded PNG.
Similarly, a PDF can contain only raster imagery.
To inspect your file:
- Open it in a vector editing application.
- Zoom in significantly.
- Select individual elements.
- Check whether editable paths exist.
- Inspect the typography and shape geometry.
- Verify that the artwork isn’t simply one embedded image.
The MDN SVG image element reference explains how raster images can be included within SVG documents.
Common Mistakes When Fixing Pixelated Logos
Mistake 1: Enlarging the Original PNG Repeatedly
Repeated enlargement doesn’t create a clean vector master.
Mistake 2: Using an Online Converter Without Checking the Result
Automatic conversion may create complicated or inaccurate paths.
Mistake 3: Changing the Original Typography
Replacing custom lettering with a similar font can alter the brand identity.
Mistake 4: Ignoring Production Requirements
A file that looks correct on screen may still need adjustments for printing or cutting.
Mistake 5: Delivering Only a PNG
If the customer requires editable vector artwork, a flattened PNG won’t satisfy that requirement.
Mistake 6: Skipping Quality Control
Inspect every exported file before sending it to the printer.
When Should You Hire a Professional Logo Vectorization Service?
Professional reconstruction may be the best choice when:
- Your original vector file is missing.
- Your logo becomes blurry when enlarged.
- Your printer requests AI, EPS, or SVG.
- Automatic tracing produces poor results.
- Your logo contains custom typography.
- You need accurate, editable vector artwork.
- You want to preserve your existing logo without redesigning it.
A carefully reconstructed vector master can also make future brand updates easier.
How VectorRefine Helps Fix Pixelated Logos
At VectorRefine, we focus on professional manual vector artwork for businesses, agencies, and print professionals.
Our work involves rebuilding existing logos and artwork using Adobe Illustrator.
We aim to preserve the original visual identity while improving the technical quality of the vector construction.
Our services include:
- Logo vectorization
- PNG to vector conversion
- JPG to SVG conversion
- Manual vector tracing
- Artwork cleanup
- Print-ready vector preparation
Explore our Services, learn about our Process, or view our Our Work portfolio.
Need to Fix a Blurry or Pixelated Logo?
Your existing logo may not need a redesign.
It may simply need careful reconstruction into clean, editable vector artwork.
Upload your existing logo and tell us how you plan to use it. We’ll review the artwork and help determine the appropriate conversion approach.
Frequently Asked Questions
1. Can a pixelated logo be fixed for printing?
Yes. Many pixelated logos can be manually reconstructed as vector artwork. The final accuracy depends on the quality of the available reference.
2. Can Photoshop fix a blurry logo?
Photoshop can improve the appearance of some raster images, but it doesn’t automatically create genuine vector paths.
3. Is vectorization better than increasing resolution?
For logos made from defined shapes and typography, vector reconstruction generally offers more flexibility and scalability.
4. Can a JPG logo be converted into AI or SVG?
Yes. A JPG can be manually reconstructed into editable vector artwork and saved in appropriate formats.
5. Does changing a PNG to 300 DPI improve quality?
Changing the DPI metadata alone doesn’t add new image detail. The actual pixel dimensions and intended print size matter.
6. Is automatic Image Trace good for professional logos?
It can be useful for some artwork, but accuracy-critical logos often benefit from manual reconstruction or careful cleanup.
7. Can a vector logo be printed at any size?
Proper vector paths can scale without pixelation. However, very small details may still need adjustment for the physical production process.
8. What files should I request from a logo vectorization service?
Common deliverables include editable AI, SVG, EPS, vector PDF, and transparent PNG previews, depending on your requirements.
Final Thoughts
A pixelated logo can create unnecessary problems when you’re preparing artwork for printing, packaging, apparel, or signage.
Fortunately, many blurry logos can be professionally reconstructed without changing the original brand design.
The most important thing is choosing the right solution.
Raster enhancement may help in some situations, but genuine vector reconstruction provides greater flexibility for logos that need accurate scaling and editing.
If your existing artwork isn’t suitable for printing, professional manual vector tracing may be the practical long-term solution.
At VectorRefine, we focus on carefully constructed, editable vector artwork designed around your production needs.
Ready to fix your pixelated logo?
Get My Free Quote and share your artwork for review.